Linux Version : CentOS 7.5
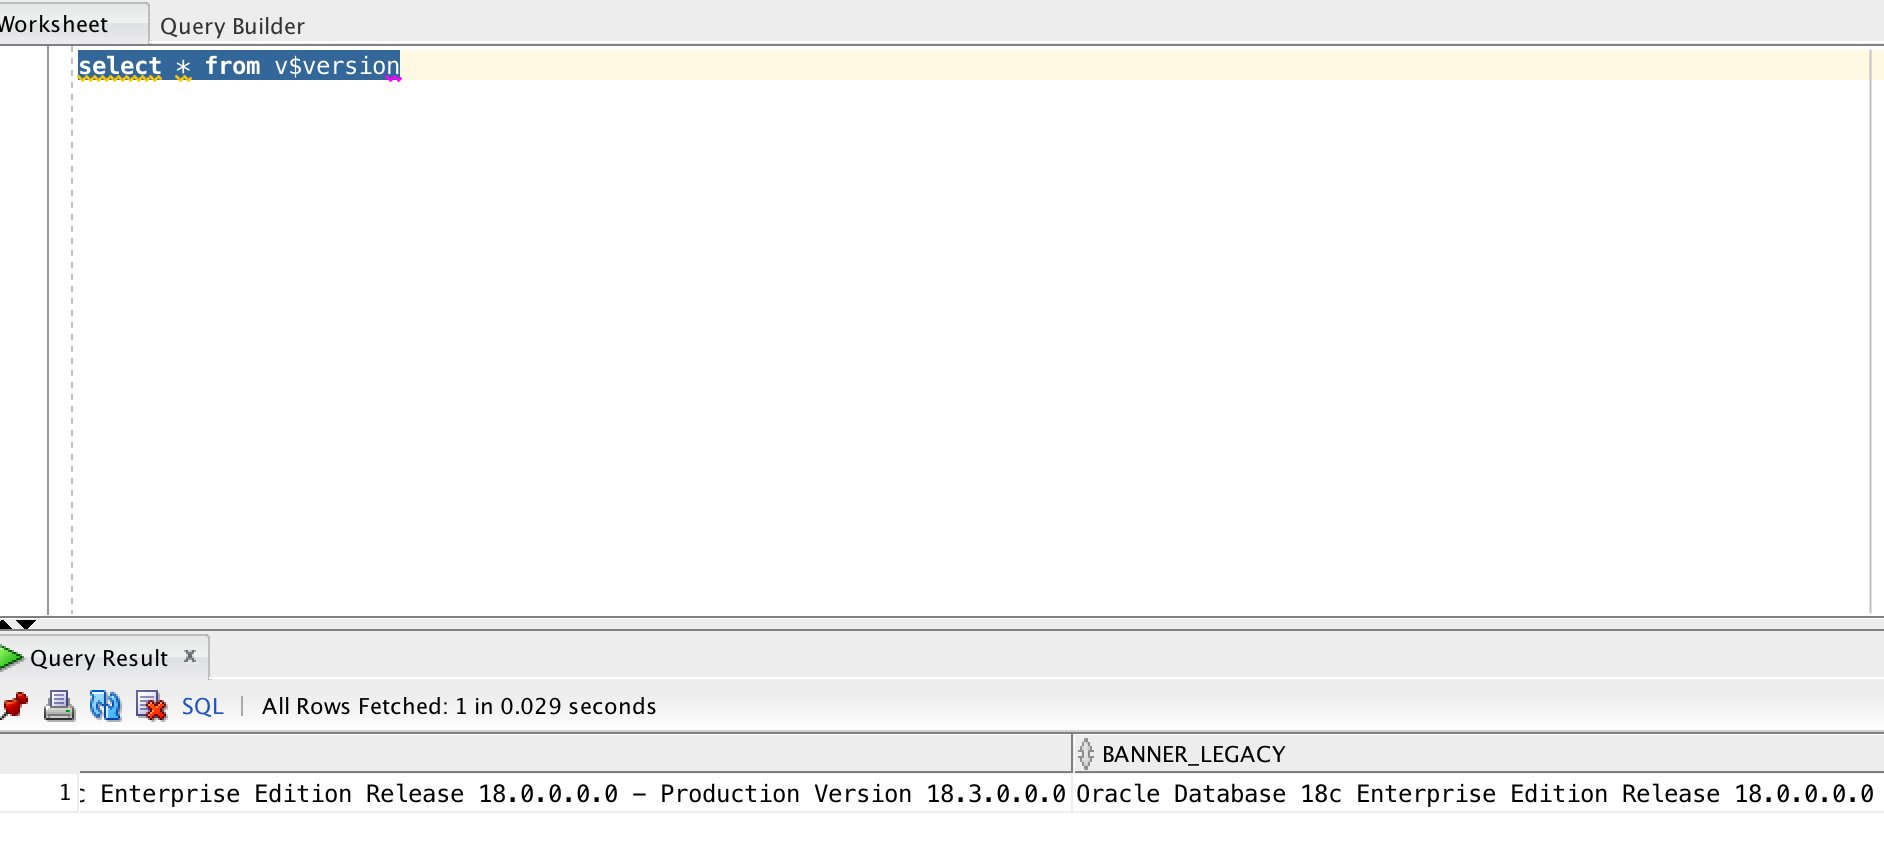
Oracle Version : 18c (18.3.0.0)
1. Download the Zip file from Oracle Website and create groups and oracle user(https://www.oracle.com/technetwork/database/enterprise-edition/downloads/oracle18c-linux-180000-5022980.html ) ##
groupadd oinstall
groupadd dba
useradd oracle -g oinstall -G dba
passwd oracle
Create .bash_profile , in my test server i use 3 different Oracle homes and versions, so the bash profile looks a bit extra funky 😉
# .bash_profile
# Get the aliases and functions
if [ -f ~/.bashrc ]; then
. ~/.bashrc
fi
# User specific environment and startup programs
export CATALINA_HOME=/home/oracle/apache-tomcat
PATH=/bin:/usr/bin:/etc:/usr/sbin:/usr/ucb:$HOME/bin:/usr/bin/X11:/sbin:/bin/bash:$CATALINA_HOME/bin.
export PATH
EDITOR=vi
export EDITOR=vi
if [ -s "$MAIL" ] # This is at Shell startup. In normal
then echo "$MAILMSG" # operation, the Shell checks
fi # periodically.
echo " "
echo " "
echo " ~~~~~~~~~~~~~~~~~~~~~~~~~~~~~~~~~~~~~~~~~~~~~~~~~~~~~~~~~~~~~~~"
echo " Database options"
echo " "
echo " "
echo " 1) DATABASE 12cR2"
echo " "
echo " 2) DATABASE 12cR1"
echo " "
echo " 3) DATABASE 18.3"
echo " "
echo " "
echo " ~~~~~~~~~~~~~~~~~~~~~~~~~~~~~~~~~~~~~~~~~~~~~~~~~~~~~~~~~~~~~~~"
echo " "
echo " "
echo " Enter Choice:\c"
read env
if [ $env -eq 1 ] ; then
export ORACLE_HOME=/u01/app/oracle/product/12.2.0/dbhome_1
export ORACLE_BASE=/u01/app/oracle
export ORACLE_SID=ora12c
PS1='$PWD:12cR2-->'
else
if [ $env -eq 2 ] ; then
export ORACLE_HOME=/u01/app/oracle/product/12.1.0/dbhome_1
export ORACLE_BASE=/u01/app/oracle
export ORACLE_SID=moovorix
PS1='$PWD:12cR1-->'
fi
if [ $env -eq 3 ] ; then
export ORACLE_HOME=/u01/app/oracle/product/18.3.0/dbhome_1
export ORACLE_BASE=/u01/app/oracle
export ORACLE_SID=ora18c
PS1='$PWD:18c-->'
fi
fi
export LD_LIBRARY_PATH=$ORACLE_HOME/lib:/usr/lib:/lib
export LIBPATH=$ORACLE_HOME/lib32:$ORACLE_HOME/lib:/usr/lib:/lib
export PATH=$PATH:$ORACLE_HOME/bin:/u01/app/12.1.0.2/grid/bin:$ORACLE_HOME/OPatch
stty erase ^?
TMOUT=0;TIMEOUT=600;export readonly TMOUT TIMEOUT
set -o vi
echo ''
echo ''
clear
echo
echo "ORACLE_SID=$ORACLE_SID"
echo
alias tsmd='cd /opt/tivoli/tsm/client/oracle/bin64/'
alias ob='cd $ORACLE_BASE'
alias oh='cd $ORACLE_HOME'
alias tns='cd $ORACLE_HOME/network/admin'
alias ch='cd $CATALINA_HOME'
alias envo='env | grep ORACLE'
alias sqld='rlwrap sqlplus "/as sysdba"'
alias cpu="cat /proc/cpuinfo | awk '/^processor/{print $3}' | wc -l"
alias py='/usr/bin/python3.6'
alias py2='/usr/bin/python'
export PATH
umask 022
envo
2. Install all the pre-requisites, if your on Oracle Linux there is an RPM you can install : oracle-database-preinstall-18c
Else if you prefer do the pre-requisites manually (Which I do)
Check for missing packages
rpm -q –qf '%{NAME}-%{VERSION}-%{RELEASE}(%{ARCH})\n' binutils \
compat-libcap1 \
compat-libstdc++-33 \
elfutils-libelf \
elfutils-libelf-devel \
gcc \
gcc-c++ \
glibc \
glibc-common \
glibc-devel \
glibc-headers \
ksh \
libaio \
libaio-devel \
libgcc \
libstdc++ \
libstdc++-devel \
make \
libXext \
libXtst \
libX11 \
libXau \
libxcb \
libXi \
sysstat \
unixODBC \
unixODBC-devel
Install missing packages with Yum
eg:
rpm -q –qf '%{NAME}-%{VERSION}-%{RELEASE}(%{ARCH})\n' binutils \
compat-libcap1 \
compat-libstdc++-33 \
elfutils-libelf \
elfutils-libelf-devel \
gcc \
gcc-c++ \
glibc \
glibc-common \
glibc-devel \
glibc-headers \
ksh \
libaio \
libaio-devel \
libgcc \
libstdc++ \
libstdc++-devel \
make \
libXext \
libXtst \
libX11 \
libXau \
libxcb \
libXi \
sysstat \
unixODBC \
unixODBC-devel
Add Limits for Oracle user
Open file limits.conf and add below parameters
rpm -q –qf '%{NAME}-%{VERSION}-%{RELEASE}(%{ARCH})\n' binutils \
compat-libcap1 \
compat-libstdc++-33 \
elfutils-libelf \
elfutils-libelf-devel \
gcc \
gcc-c++ \
glibc \
glibc-common \
glibc-devel \
glibc-headers \
ksh \
libaio \
libaio-devel \
libgcc \
libstdc++ \
libstdc++-devel \
make \
libXext \
libXtst \
libX11 \
libXau \
libxcb \
libXi \
sysstat \
unixODBC \
unixODBC-devel
3. Silent Installation of 18c Software, the new installer is a zipped Oracle Home which you need to unzip to your Oracle Home directory and installation command just relinks all libraries. The installation is super quick due to this, afer this installation you are never going back to the normal runInstaller again
rpm -q –qf '%{NAME}-%{VERSION}-%{RELEASE}(%{ARCH})\n' binutils \
compat-libcap1 \
compat-libstdc++-33 \
elfutils-libelf \
elfutils-libelf-devel \
gcc \
gcc-c++ \
glibc \
glibc-common \
glibc-devel \
glibc-headers \
ksh \
libaio \
libaio-devel \
libgcc \
libstdc++ \
libstdc++-devel \
make \
libXext \
libXtst \
libX11 \
libXau \
libxcb \
libXi \
sysstat \
unixODBC \
unixODBC-devel
4. Silent Creation of Database using dbca silent mode
rpm -q –qf '%{NAME}-%{VERSION}-%{RELEASE}(%{ARCH})\n' binutils \
compat-libcap1 \
compat-libstdc++-33 \
elfutils-libelf \
elfutils-libelf-devel \
gcc \
gcc-c++ \
glibc \
glibc-common \
glibc-devel \
glibc-headers \
ksh \
libaio \
libaio-devel \
libgcc \
libstdc++ \
libstdc++-devel \
make \
libXext \
libXtst \
libX11 \
libXau \
libxcb \
libXi \
sysstat \
unixODBC \
unixODBC-devel
5. Create Listener for 18c
cd /u01/app/oracle/product/18.3.0/dbhome_1/admin/network
vi listener.ora
SID_LIST_LISTENER_18C =
(SID_LIST =
(SID_DESC =
(GLOBAL_DBNAME = ora18c)
(ORACLE_HOME = /u01/app/oracle/product/18.3.0/dbhome_1)
(SID_NAME = ora18c)
)
)
LISTENER_18C =
(DESCRIPTION_LIST =
(DESCRIPTION =
(ADDRESS = (PROTOCOL = TCP)(HOST = 103.42.111.196)(PORT = 1523))
)
)
lsnrctl start LISTENER_18C
Checking from SQL*PLUS
SQL*Plus: Release 18.0.0.0.0 - Production on Mon Aug 13 04:03:10 2018
Version 18.3.0.0.0
Copyright (c) 1982, 2018, Oracle. All rights reserved.
Connected to:
Oracle Database 18c Enterprise Edition Release 18.0.0.0.0 - Production
Version 18.3.0.0.0
SQL> select name,open_mode from v$database;
NAME OPEN_MODE
--------- --------------------
ORA18C READ WRITE

